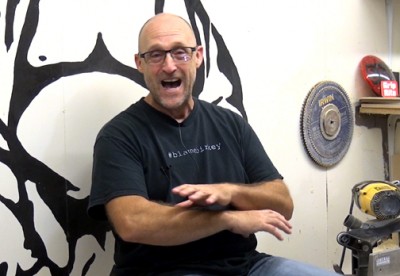
Andy Birkey’s life sounds like something straight out of the movies, but with no hint of the Hollywood fakery.  Just one example of what I am talking about; When he was 22 years old he fearlessly walked into the Miami airport with just a backpack and a desire to travel, but no idea where he was going.  And, that’s how he lived the first 15 years of his adult life.

Andy in his shop

Andy learned the value of hard work at a very young age, helping his missionary father build churches in the pacific northwest.  He spent most of his life doing carpentry work in one form or another.  He has built sidewalks for cows, managed extensive multi-million dollar church restorations, and everything in between.

Andy hardly limits himself to just carpentry!  He is a talented maker and artist with wide variety of skills ranging from woodcarving, photography, drawing, pottery, and much more.
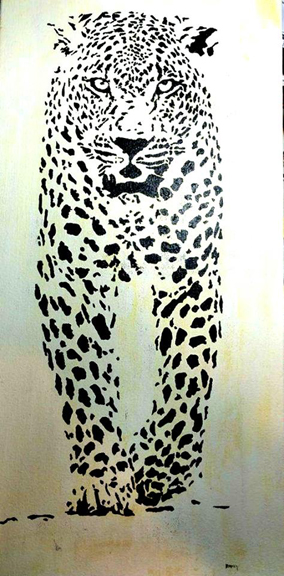
Cheetah by Andy Birkey

Today Andy is very will known on social media, especially Facebook and Instagram.  Andy also makes some really cool videos.  I especially like his “Gimme a Minute” series. In addition to that, he is also one of the co-hosts of the Faking It Podcast.  One thing that really stuck with (or to) Andy is the #blamebirkey hashtag.  When I asked him about this he told me the true meaning of #blamebirkey is to stop and appreciate what is in front of you.

Andy drew his logo

And that brings me to the thing that really sets Andy apart.   He is a philosophical, authentic, and spontaneous person who really cares about his fellow human beings.  That is the real reason why he is so well loved.
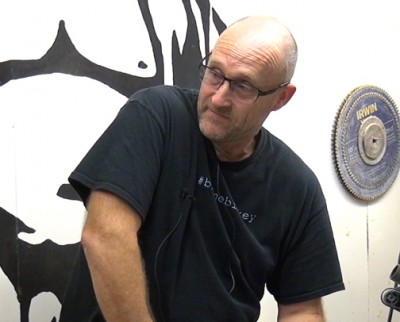
Oh, and did I mention that he is a FUN guy to hang around with?
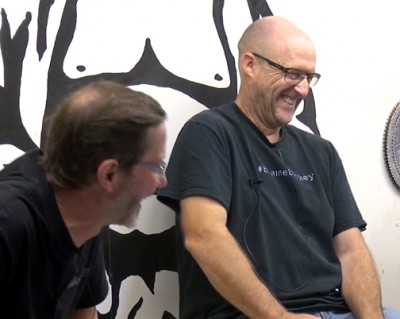
Interviewing Andy Birkey was a LOT of fun, too!

There is so much to say about Andy that I couldn’t possibly cover it all in a single blog post, so please watch the interview video and see for yourself what it is that makes him so special.

If you are not already following Andy on Facebook then I highly recommend that you do!  Also, be sure to check out his website, blamebirkey.com.

Some other noteworthy interviews that you might want to check out:

I have a very nice woodworking workbench.  My bench is adjustable height, has a built in mobile base, bench dogs, a twin screw vise on one end and a quick acting face vise on the other end.  It is a fantastic bench for woodworking, which is most of what I do in my shop.  I do like metal working, but I focus on woodworking.  Occasionally, I need to use a metal vise and I discovered a great, and very easy, solution.

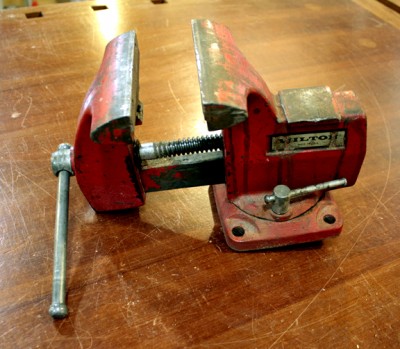
I have two metal vises.  I keep the better one in the garage and I have a smaller one that I keep downstairs in my woodshop.

My old Wilton metal vise

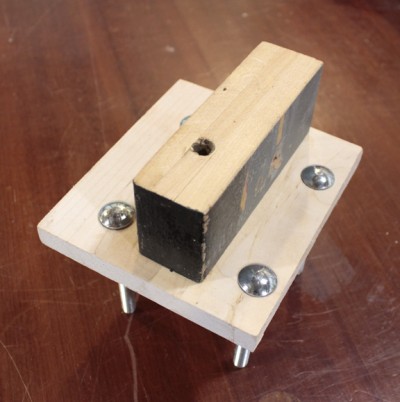
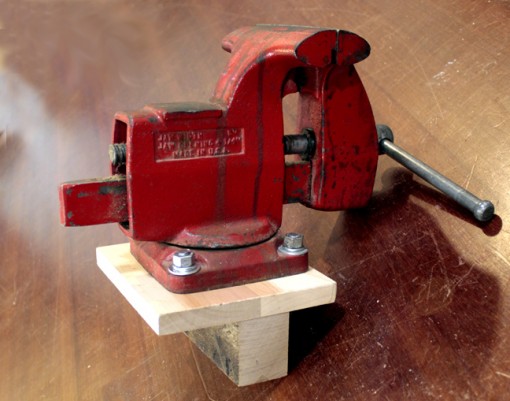
This is a really quick and easy tip.  I just bolt a tee shaped block on to the bottom of the metal vise.  On those occasions when I need a metal vise I drop it into one of the vises on my woodworking workbench, tighten it down and I am ready to go!

The block is made up of a small wooden “plate” with holes that correspond to the mounting holes in the vise. I glued another block on to the plate that can be clamped into the vise on my bench.

Tee shaped mounting block is bolted on to bottom of metal vise

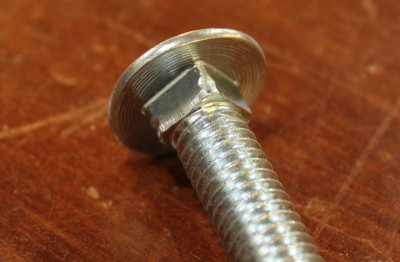
Notice that I use carriage bolts to connect the plate to the bottom of the vise.  I often use carriage bolts on wood because once I pound them into the wood they will lock in place.  This means that I don’t need two wrenches to tighten the bolt.  The heads on the carriage bolts also give a much more finished appearance than regular hex heads.

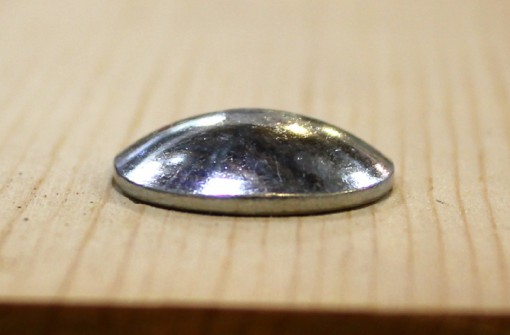
Carriage bolts have a square section just under the head

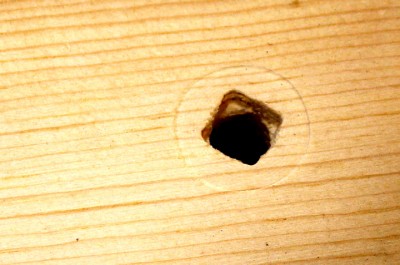
You can create a recess in wood by tapping the carriage bolt with a hammer

Then the carriage bolt will fit snugly into that recess

Carriage bolts have a very finished look when they are flush with the surface

Metal Vise ready to install on Woodworking Workbench

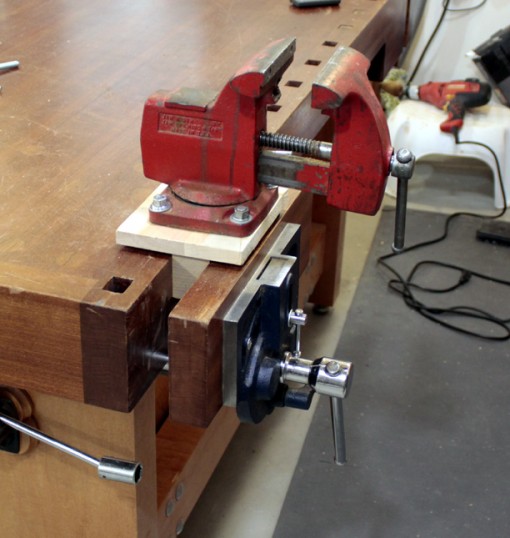
I normally store the metal vise someplace out of the way.  When I need to use it I just pull it out, drop it into my face vise, tighten it down, and I am ready for metalworking!

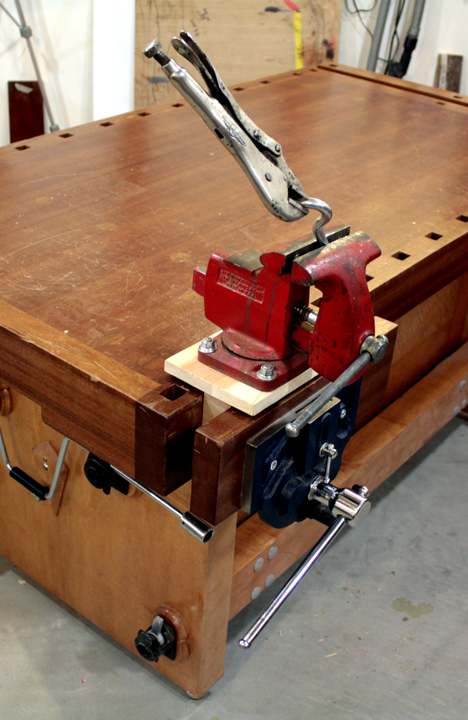
Metal vise temporarily installed on Woodworking Workbench

This is how the vise “might” look when I am actually using it!

Fun with vises on my workbench!

I have to thank my friend Al Frank for giving me the idea for this.  I don’t know if it was his original idea or if he “borrowed” it from someone else, but I really like it.  I hope you like it, too!

Please be sure to check out my other blog articles and for sure leave a comment.  I would love hear about how you approach this issue in your shop!

Thanks!

Charlie

I have two big announcements this week. Neither are directly related to workbenches, but they are both solid woodworking topics!  The first is that I finally decided to attend the Woodworking In America Conference held on September 16-18 in Cincinnati, Ohio.  This will be the first time I have attended and I am really looking forward to it!  Please let me know if you will be there because I would love to have the chance to meet you.

The second big announcement is that I have been invited to be a contributing editor for the Woodworker’s Guild of America!  This has been in the works for several months but I have resisted saying anything about it until now.  So far, I have produced one video and an accompanying article.  They have not released my video yet, so I don’t want to say anything more about it right now.  I will let you know more when they release it.

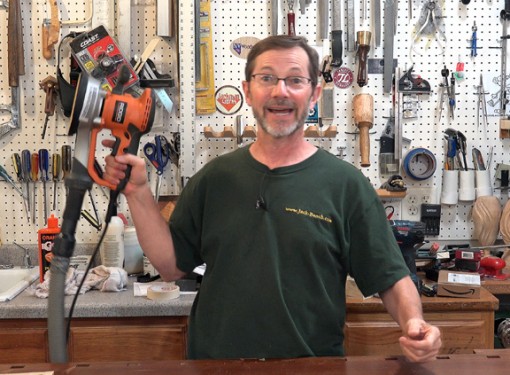
The saga of my broken Ridgid Sander is over.  I was ready to hit it with a hammer and throw it in the garbage! It had quit working and it wasn’t a bad cord or a loose connection.  The brushes looked good, too.  I went on the Home Depot website and all it said was that their power tools came with a 3 year warranty.  I received many comments on my YouTube channel saying that Ridgid tools have a lifetime warranty.  Obviously, I was skeptical because of what I saw on the HD website.  Well!  As it turns out, they do have a lifetime warranty IF you send in the registration form, something I almost never do.  However, THIS was the exception.  Long story short, they fixed my sander for free!

They Fixed My Sander!

I am planning a big road trip on my bike!

Summers in Minnesota are beautiful!  They are also very brief.  Consequently, I have been spending a lot of my time bike riding.  This next weekend I am going on an overnight bike ride with a group of friends.  It is 60 miles each day and I am a little worried about that!  The longest trip I have taken this year was 37 miles and I was really tired after that.  It will be a fun trip regardless and I will let you know how it turns out.

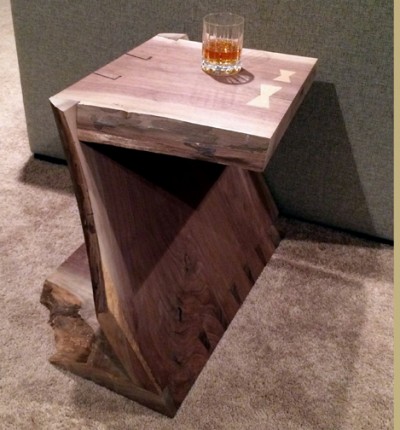
My friend Jeff Hand send me photos of a Z shaped end table that he made.

Jeff Hand

Walnut Slab End Table

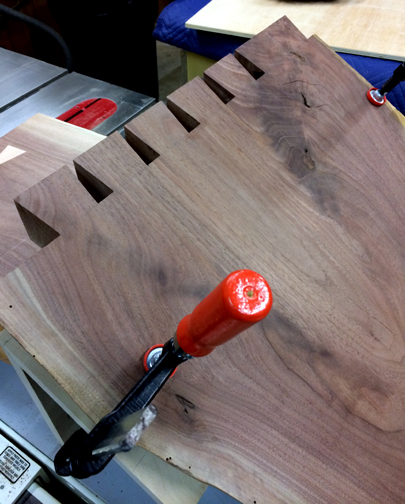
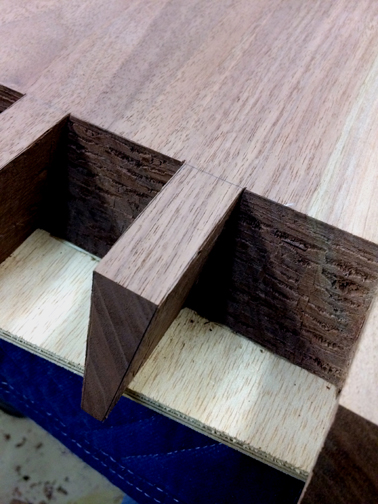
Jeff made this from a single walnut slab.  He joined the pieces together with large angled dovetails.

Dovetails

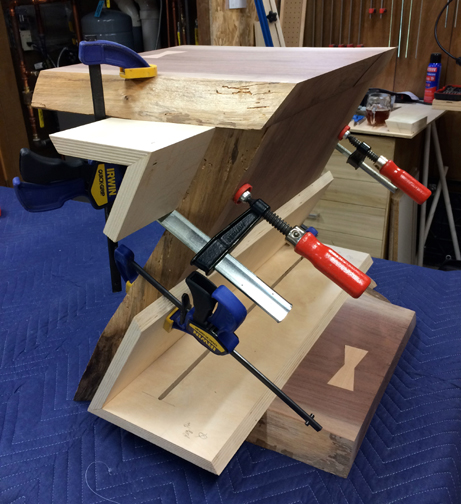
He used custom made angled clamping cauls to put it all together.

Angled Clamping Cauls

Dovetails

I want to let you know about a really crazy YouTube video by Peter Brown.  Peter comes up with some pretty crazy ideas, but this one was really off the chart.  He turned a small piece of wood on his lathe, but he did it using only a strobe light.

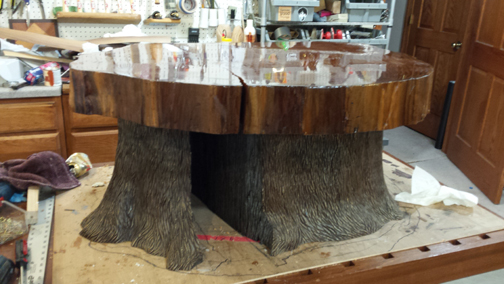
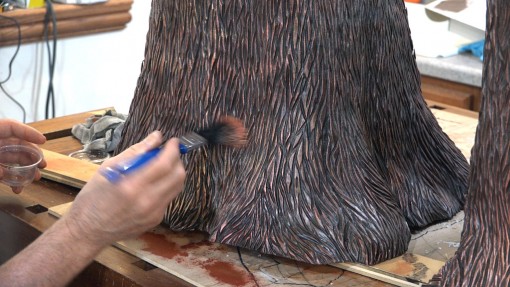
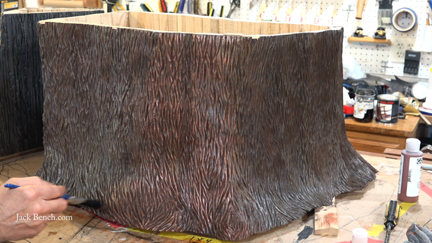
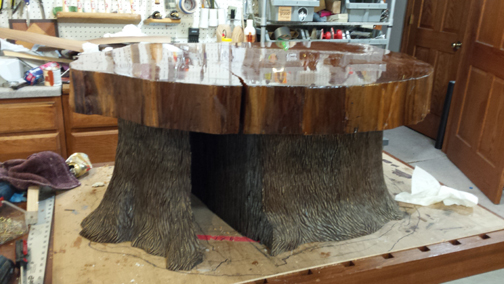
A few months ago I made a slab coffee table.  It was quite an undertaking and I have 4 other articles on this woodworking project.  This video is an overview of the entire build process!  This video also includes how I did the copper finish on the base and a bit on how I finished the top of the slab.  This article is primarily about how I applied the copper finish on the coopered wooden base.

Before I talk about the finish, let me tell you about the other 4 parts of this build!

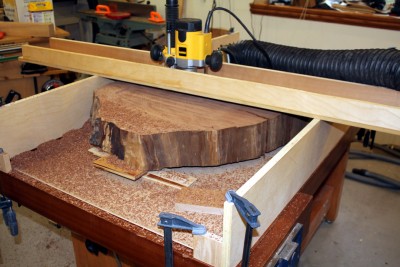
The first step in the build of this table was to flatten the slab.  I made a simple router jig that worked amazingly well!

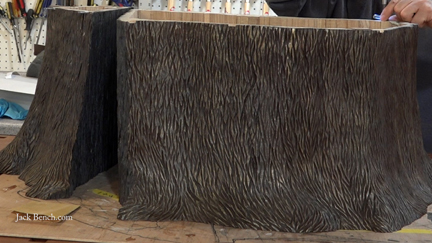
The second, and most challenging part of building this table was constructing the coopered “Tree Trunk” base.  Although it was challenging it was also a lot of fun!

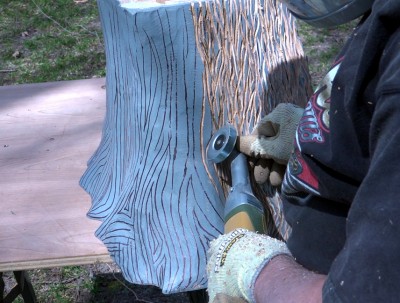
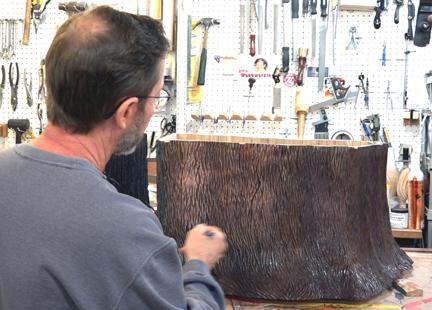
I love carving!  This was far and away the largest carving that I have ever attempted. Sculpting and Texturing with angle grinders  was both challenging and fun!

How and Why I Inlaid Stars in the Table Top is a bit of a story!  It started because the slab was full of worm holes and I wanted to fill them in.

I tried just filling them with epoxy, but it didn’t look right. (I screwed up) Then, in order to cover the epoxy, I decided to inlay stars in those spots.

How and Why I Inlaid Stars in the Table Top

OK!  Now let me tell you about the faux copper finish!

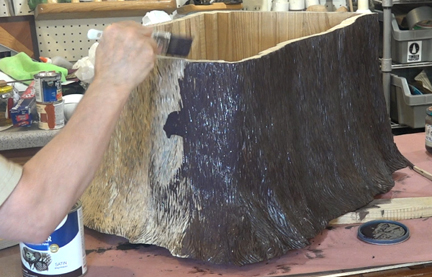
Initially, I wanted the base to have a bronze finish.  This was an easy 2 step process.  First I applied a base coat of brown, then I dry brushed a high-quality bronze paint across the top of the texturing.

Applying the brown base coat

Completed Bronze Finish

When I was done the base looked exactly the way I had envisioned.  It really looked like a piece of bronze! But, when I set the top onto my beautiful bronze table base there was a big problem.  The base had a very green tone and the top had a very red tone.  While each of them looked great by itself, they looked terrible when they were together!

The greenish bronze base looked wrong with the reddish slab top

So, being the perfectionist that I am, I brushed another coat of the brown base color over the top of the “bronze” and started over!

Applying 2nd coat of brown

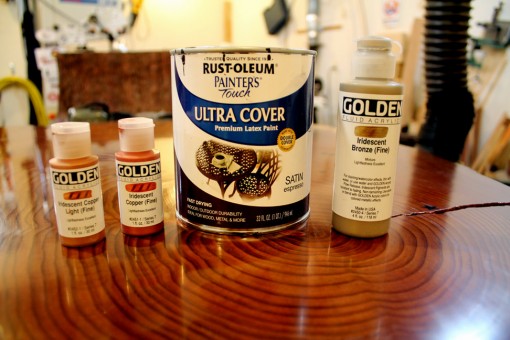
I had 4 different paints.  First was the brown base coat, I found that I liked Rustoleum’s satin espresso color the best for this.  For the metallic’s it was important to use only the highest quality and I chose “Golden” brand acrylics.  The first one I used was an Iridescent Bronze.  Then I had two copper colors, Iridescent Copper was more reddish and Iridescent Copper Light was more of a gold colored copper.

It is important to use high-quality paint

First I dry-brushed a coat of the more reddish colored copper paint.

Dry brushing the Red Copper color

But the more I applied the more apparent it was that the red was a bit too red.  It seemed to have an artificial look to it.

A little bit too red!

I was glad that I bought both copper colors.  To “fix” the too red problem I dry brushed just the slightest bit of the more gold colored paint over the top of the red.

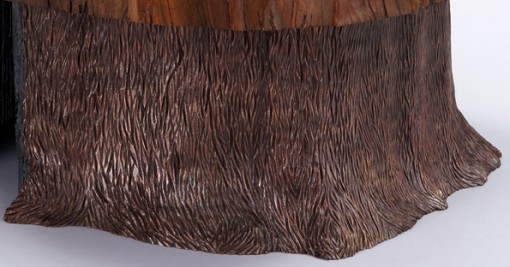
Close up of base after finish was complete

It is not as easy to see in the photos, but adding that little bit of the golden colored copper paint made a BIG difference!

I was very happy with the final result!

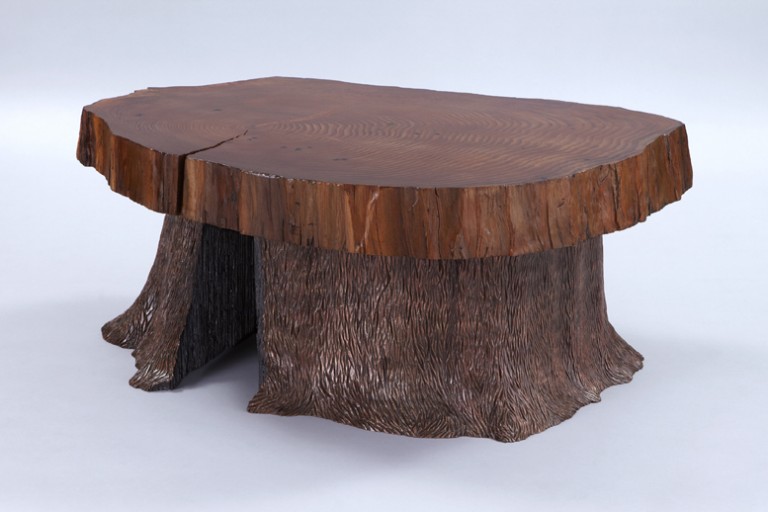
Completed Table, compare this to how it looked with the bronze colored base!

Check out the accompanying articles about this table

Watch video on YouTube

Andy Klein is an amazingly creative person. He has 5 patents for various different woodworking related inventions, and certainly there will be more!  His most successful invention so far is a saw blade that allows you to make a box on your table saw like magic. His saw blade invention is now fully developed and will be available through a major woodworking retailer sometime in 2017.

Andy Klein

He is currently trying to find manufacturing and/or retail partner to make two of his other inventions available to the public.

The first of them is new kind of parallel clamp.  This new clamp does everything that a regular parallel clamp does AND it can also function as a panel clamp.  If you have ever had a panel bow up when you tried clamped the pieces together then you would love this one!  I don’t have a good picture of his revised design, but I would encourage you to watch the video that he made about it: