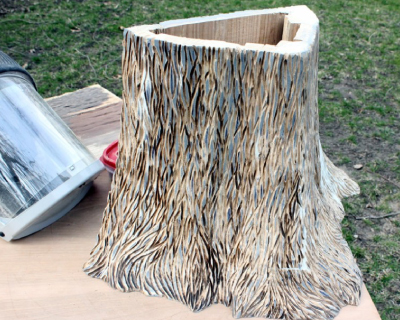
In my last article, I showed how I constructed the two pieces that make up the base for my slab coffee table. In this article I will show the steps I took to get them from rough shells into two sculpted and fully textured furniture parts that are ready for finishing. There were some real surprises with the tools. I will also tell you which tools worked well AND which tools did not work out so well!
OK, spoiler alert! The least expensive machine here was one of the best. And that was the Porter Cable 4-1/2″ grinder that I got on Amazon. It’s only $27.95! PORTER-CABLE PC60TAG 6.0-Amp 4-1/2-Inch Angle Grinder
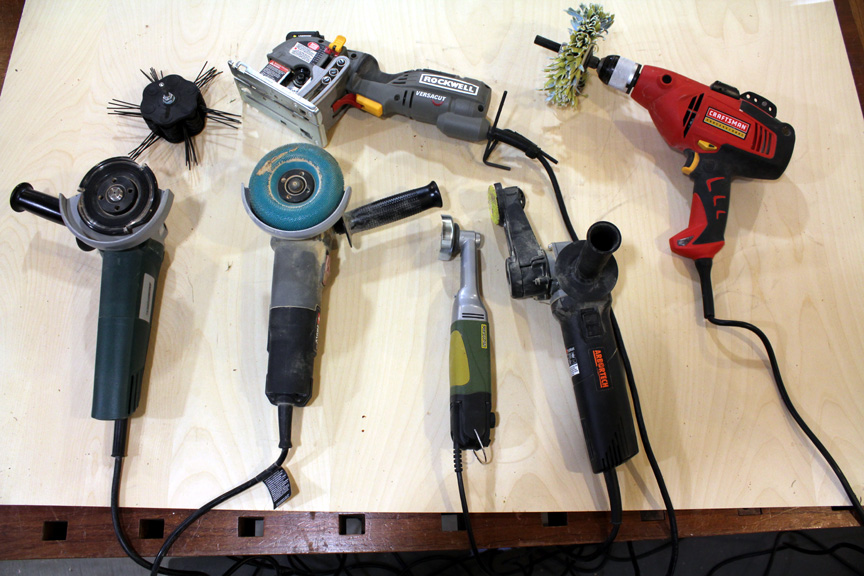
Carving tools I used, or at least tried to use, on this project
There are actually two different textures on each of the base pieces. As I said in the article about constructing the base pieces, Constructing a coopered tree trunk , I intended it to look like a tree trunk that had split in half. I wanted the texture on the inside faces to look like rough, weathered wood. I textured the inside pieces prior to assembly, but I wanted to show all of the texturing in a single blog article.
Adding a Rough “Weathered Wood” Texture to the Inside Faces
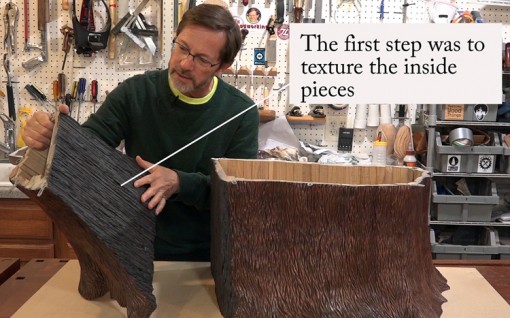
Rough weathered texture on inside faces
To get the weathered wood texture I began by cutting a bunch of lines in the wood. I did some of this on the table saw and I did some of it with a 3″ circular saw. Why a 3″ saw for this? Only because it was handy!
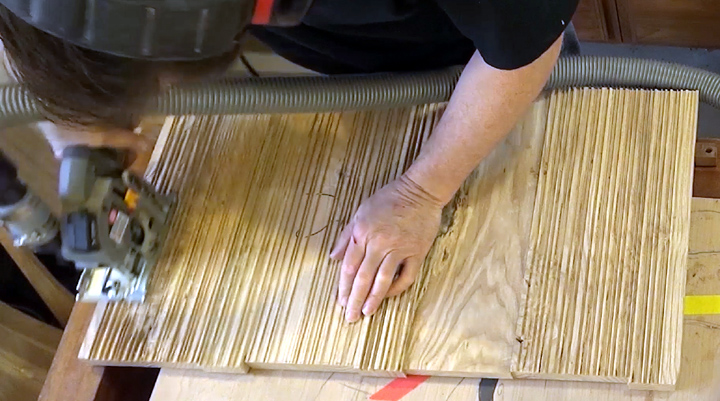
Cutting lines with circular saw
I used to think these little saws were a joke, but I have changed my mind about that because this one was great! Rockwell RK3440K VersaCut Circular Saw
I especially like that it can be used as a plunge saw. I had to use an adapter to hook it up to my vacuum, but once I did the dust collection was excellent. After the lines were cut I used that circular saw to get the texture. This is the part that really sold me on this saw. The way I used it for texturing was to keep plunging the saw into the wood at different angles.
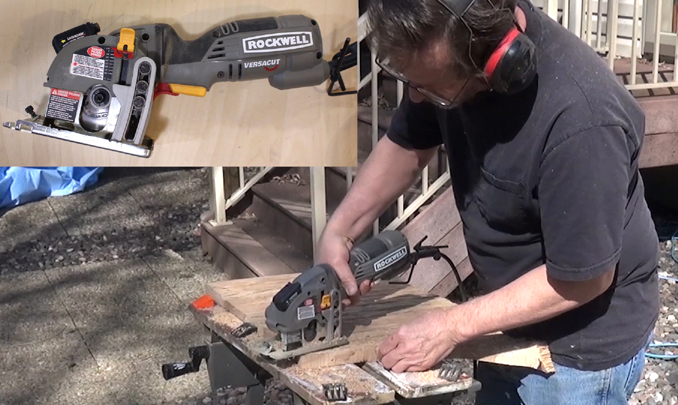
Plunging saw into wood to create texture – Rockwell 3-3/8″ VersaCut Circular Saw
Sculpting the Pieces into Shape to Prepare for Texturing
I intended for the texture on the outside faces of the base pieces to be sort of a stylized texture. I really didn’t care if the texture on the outside looked exactly like tree bark. Maybe it would look like tree bark and maybe it wouldn’t. My only goal was for it to look good.
The two pieces had been glued up, but the surfaces were very rough. I had to smooth out the roughness and sculpt them into their final shape before I could start texturing.
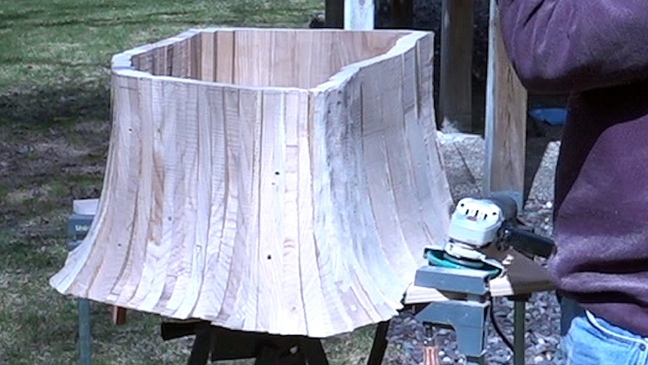
Base before sculpting
The larger base piece (above) wasn’t too bad, but the smaller piece (below) was really rough before I started sculpting it!
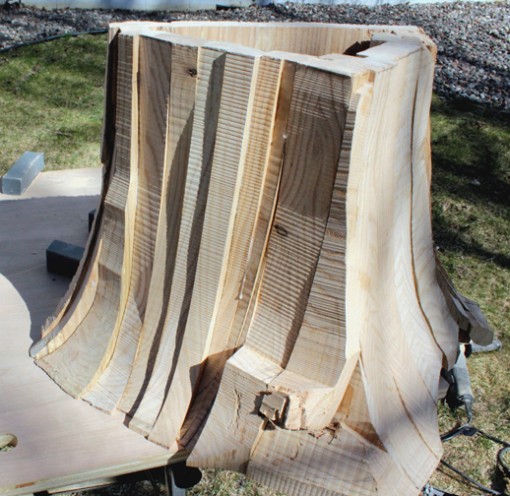
The small base piece was especially rough before sculpting
I used a 4-1/2″ angle grinder for the sculpting. At first, I tried sculpting with a 4-1/2″ Arbortech carving wheel. This wheel has three carbide teeth and it cuts like crazy! However, it was very hard to control and to tell the truth it was kind of scary to use!
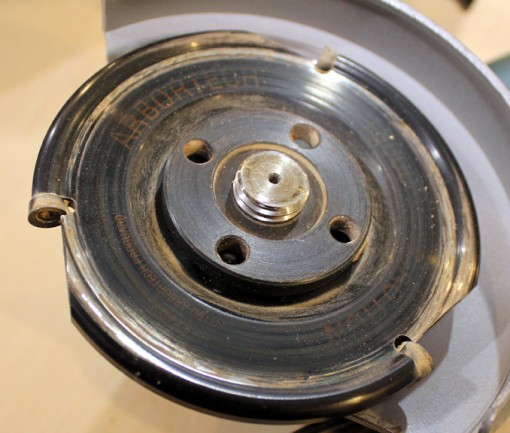
Arbortech 4-1/2″ Carbide Cutter
After trying the Arbortech I bought a Kutzall carbide coated carving wheel. This wheel is covered with sharp little nubs. The Kutzall was easy to control and it worked GREAT! These are available in different grits. I had no problems with the medium grit.Kutzall Extreme Carving Disc – Medium, Tungsten Carbide Coating – 4-1/2″
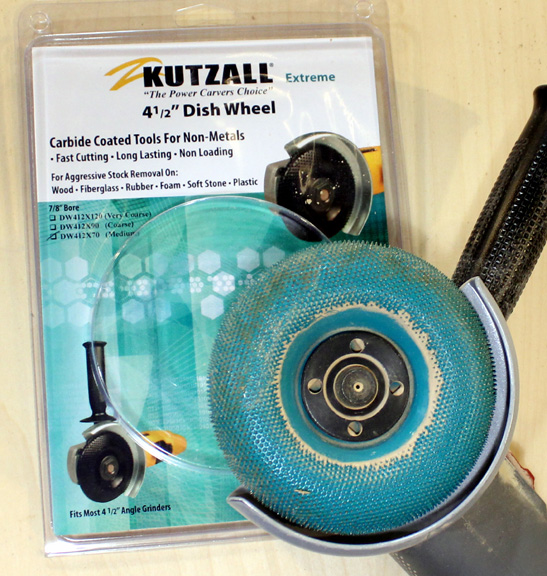
Kutzall’s Extreme Carving Disc worked Great! Kutzall Extreme Carving Disc
One thing about carving with an angle grinder is that it produces a LOT of dust! I have had a Trend Airshield for several years. It has a small battery powered fan that draws air through a filter and then directs the filtered air on to your face. Besides keeping the dust out of my eyes and my lungs the air from the fan helped to keep me cool. Honestly, I don’t use it very often, but it was perfect for this job. TREND Airshield – Powered Face Shield
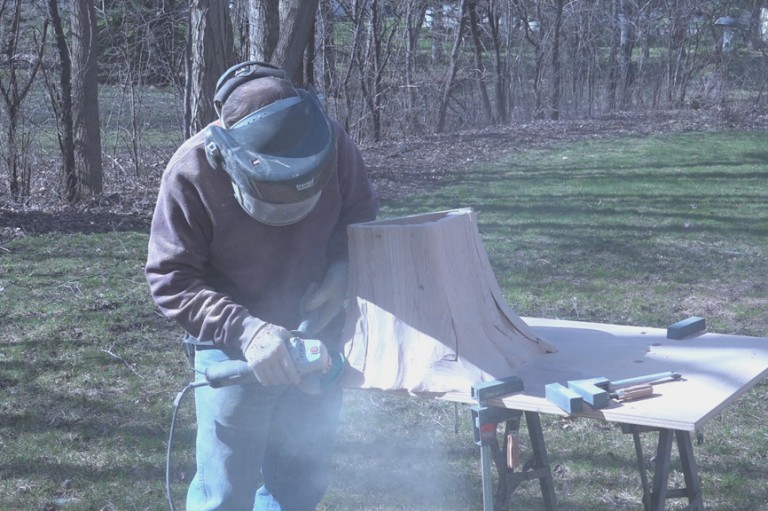
Sculpting with a Kutzall carving wheel
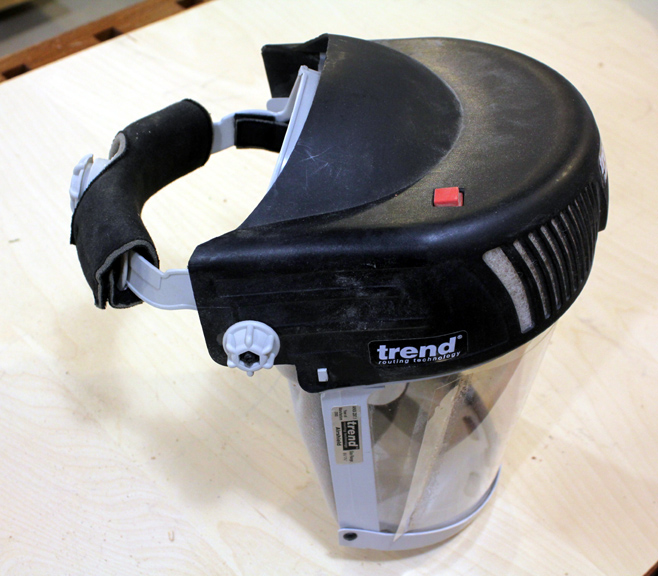
Trend Airshield Powered Facemask TREND Airshield – Powered Face Shield
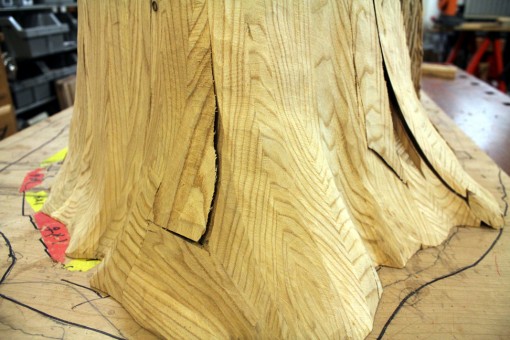
Small base piece needed a lot of fill before I could start texturing.
The small base piece looks pretty bad, but I had anticipated this and was not at all concerned. Regular automotive body filler, Bondo, is great for wood, too! I don’t use it much though because it doesn’t look like wood. In this case, I planned to use a painted finish so this was a great choice. If your clients knew you were using Bondo it would leave a bad impression. So, be sure to call it “Polyester Fill” if it ever comes up in conversation!
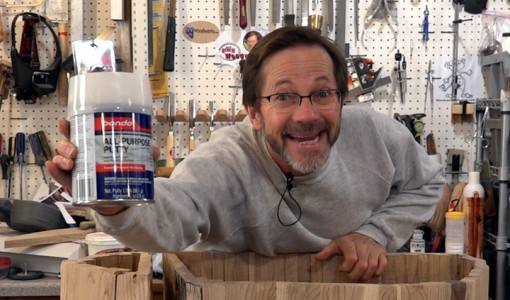
This is my secret weapon!
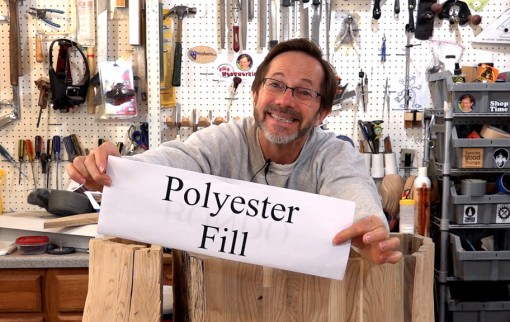
If you have clients then don’t call it Bondo! Always call it “Polyester Fill”
Bondo is tough, non-shrinking, and very easy to work with. You can buy it at Home Depot and at just about any automotive part store. It is a thin two-part paste-like material. You just trowel some out onto a piece of scrap wood and mix in a bit of hardener. Then use a rubber spreader and immediately add it where needed. After a very short time it will start to firm up. As soon as it does take a grater type of tool or a rasp if you don’t have a grater and trim it down to where you want it. I used a Microplane to trim off the excess bondo. It is very important to trim the excess before it hardens completely because his stuff sets up as hard as a rock.

A Microplane is great for shaping bondo and wood! Microplane 40020 Classic Zester/Grater
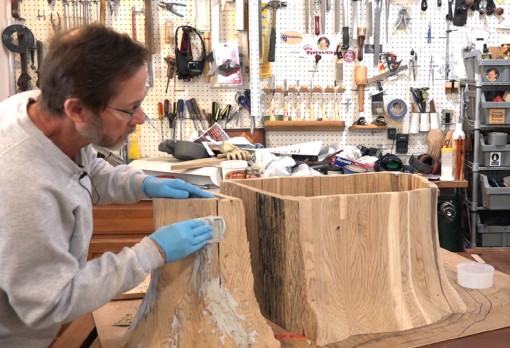
Bondo makes a great wood filler
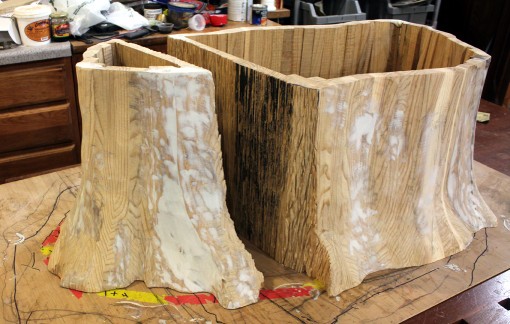
Base pieces after fill and smoothing with polyester fill material
Texturing the Base Pieces
Sometimes it is difficult to see your progress when power carving. So, before I actually started cutting in the texture I painted everything grey to make it easier to see what I was doing.
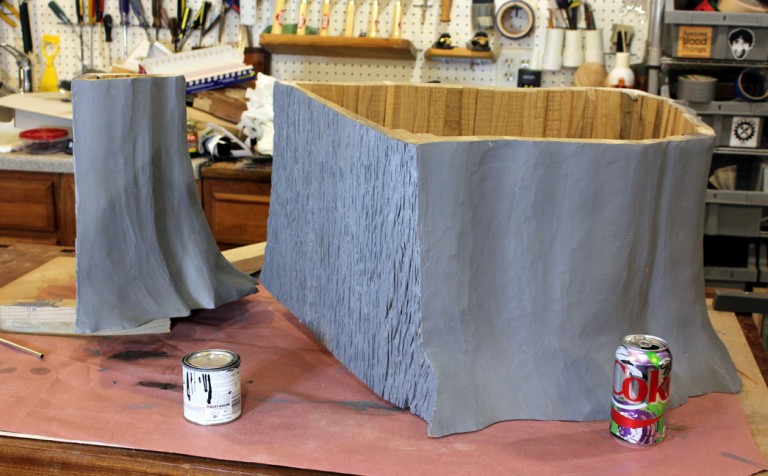
I painted the base pieces to make it easier to see my progress while texturing.
I needed some kind of a guide to keep me on track while I was cutting the texture. It is a lot easier to change a line drawn on the surface with a marker than it is to change a line that is cut into the surface with a grinder. I used a laundry marker to lay out the lines before I started texturing.
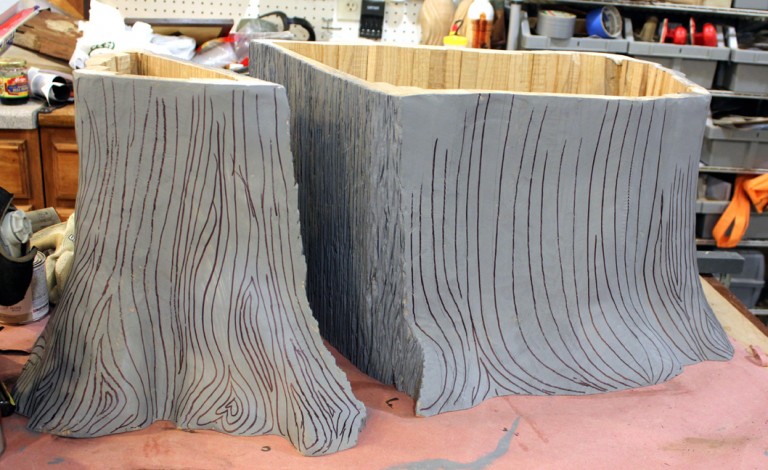
I drew lines as a guide before I started cutting
You can see by the lines on the small base piece what I meant when I said that I was going for a stylized texture.
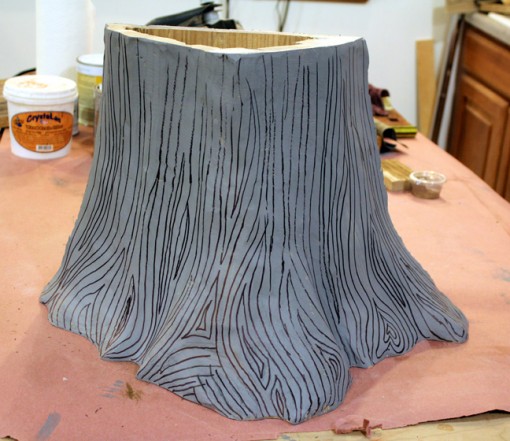
Tree Trunk Carving Lay Out
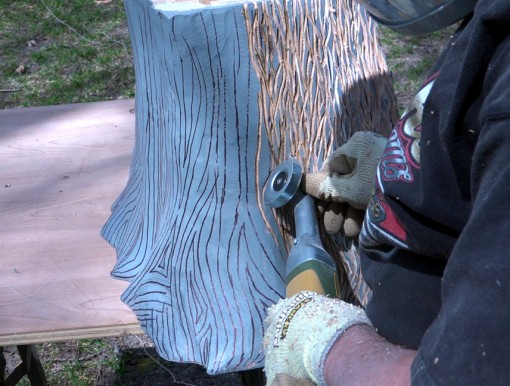
Finally, I get to cut the texture into the base!
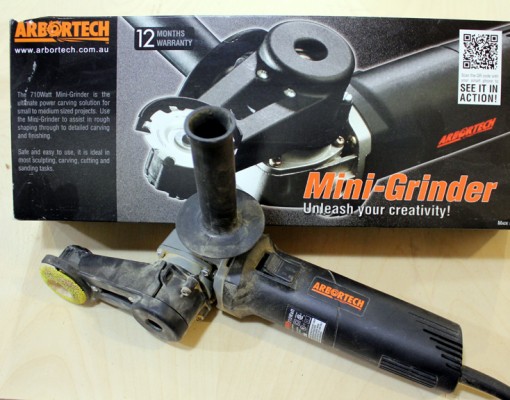
I bought an Arbortech Mini Grinder specifically for this project. Arbortech Complete Mini Grinder Carving Kit
What I did use was a little Proxxon angle grinder that I borrowed from a friend. Proxxon 38544 Longneck Angle Grinder LHW/E
The Proxxon was great for the detail work that I doing. I must say, though, that this one has its own set of problems. The on/off switch is a rocker style switch and a few times I accidentally shut it off while I was using it. This isn’t such a big deal, but if I can accidentally shut it off then it stands to reason that I could accidentally turn it on, too. Like I said, I borrowed this from a friend of mine and I don’t know how much use it had seen. This particular grinder sounded like the bearings were wearing out. The bottom line is that it was just right for the task at hand. If I ever have a similar project then I will probably buy one for myself.
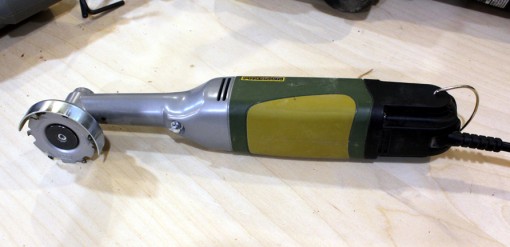
Little Proxxon angle grinder worked great for the texturing! Proxxon 38544 Longneck Angle Grinder LHW/E
After I was done texturing I sanded everything down with a 120 grit mop sander. I tried buying some of the $6 drill mounted sanders that you see in the hardware stores, and I am being generous when I say that they weren’t that good. There are several places to buy sanding mops and you can even make your own. The one that I used was from Stockroom Supply: http://stockroomsupply.ca/shop/sanding-mops/6inmop80-319.html
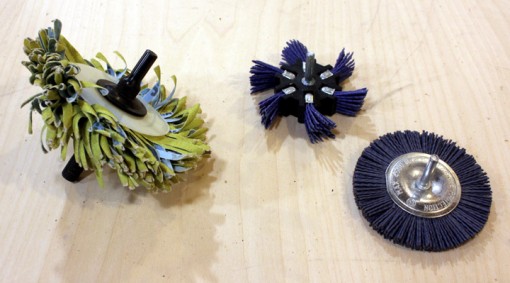
I tried all 3 of these drill mounted sanders. Guess which one was best.
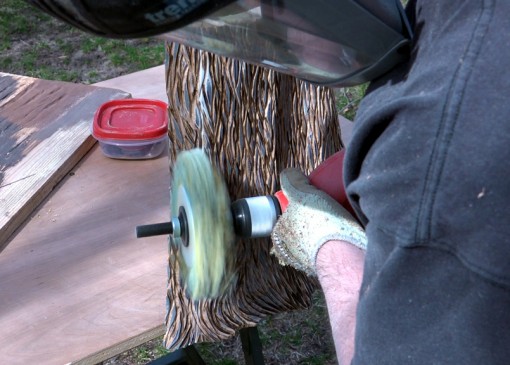
I used a 6″ Sanding Mop to clean everything up after texturing
Here is how the small base piece looked immediately after I was done with the texturing. I am quite happy with the final result!
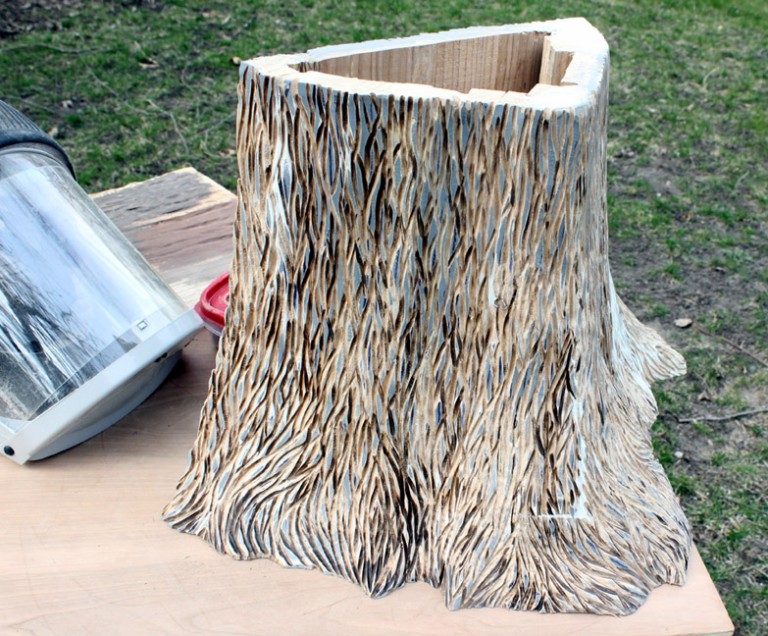
Small base piece after sculpting and texturing
In the next article on the Slab Coffee Table, I will show you how easy it is to add a metallic finish!
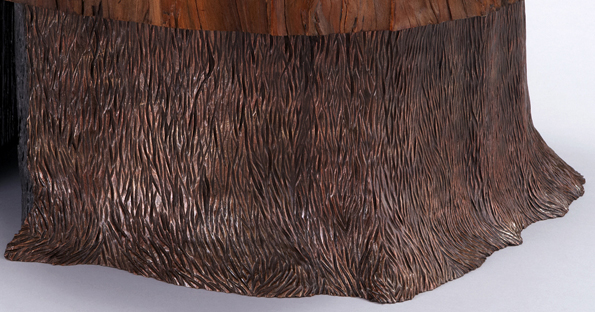
You will be surprised how easy it is to add a metallic finish.
Also, please be sure to read the first two articles on the Slab Coffee Table: Flattening a Wood Slab on Your Workbench with a Router and Constructing a coopered tree trunk
I hope you liked my article and I would greatly appreciate it if you would leave a comment to let me know what you think of it!
NOTE: I provide very honest assessments of the tools I used in this project, but I want you to know that many of the links on this page are affiliate links and will earn Jack Bench Woodworking a small commission. Using these links adds NO COST TO YOU, but helps keep Jack Bench sustainable and ensures that I can continue to offer woodworking videos and articles. Thank You!

